
So, you have chosen to make fake nails yourself at home instead of going to the salon. But what if you don’t have nail glue? No worries! You can still make and attach fake nails using things you probably already have at home. These methods are gentler and less drying than salon nails, so your wallet and nails will be happy.
Just before we get into detail, here are a couple of things you need to know.
| S/N | What to Note |
|---|---|
| 1 | Cut out nail shapes from thick paper for each of your nails. |
| 2 | Make 6-10 additional cutouts for each nail. |
| 3 | Mix 1 spoon of flour with 1 spoon of water in a bowl to create a glue-like paste. |
| 4 | Use the paste to stick the paper cutouts together. |
| 5 | Let the nail cutouts dry overnight. |
| 6 | Attach the dried cutouts to your nails using nail tabs. |
| 7 | Paint them with your favorite color. |
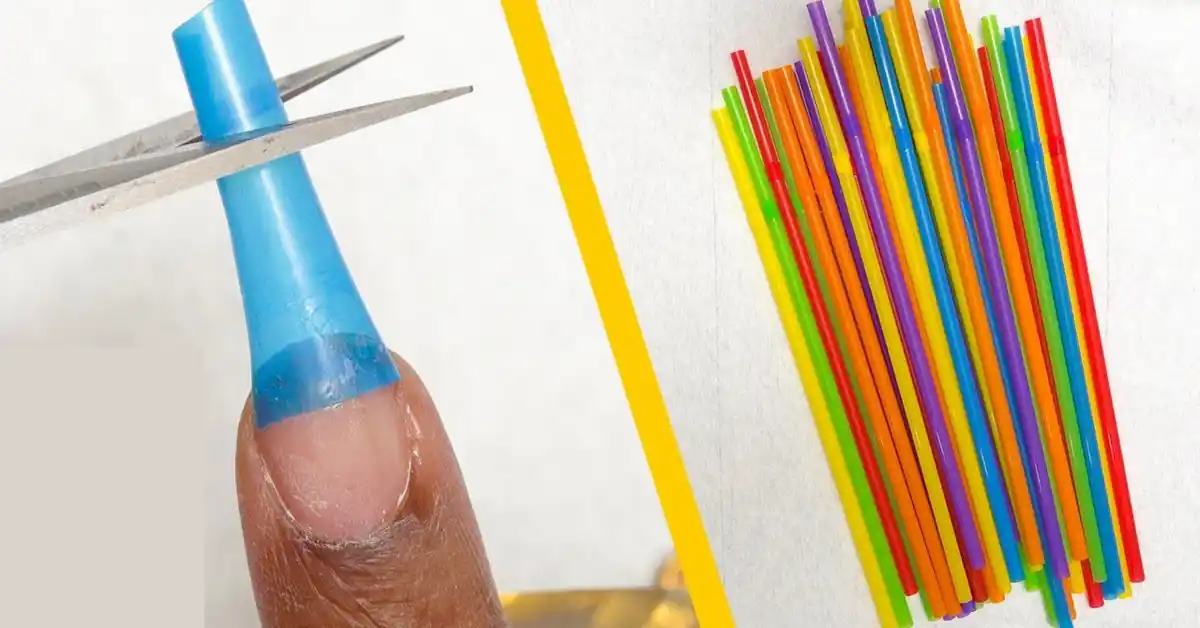
How to Make Fake Nails Using Plastic Straws
In this first section, you will learn to fake your nails using plastic straws. Follow these simple steps:
1. Prepare Your Straw Segments for Nail Art
Cut the plastic straw into 10 short pieces, then snip each piece to create mini-straws that are as long as you want your new nails to be. Make sure that they’re sturdy enough and cover your entire fingernail from cuticle to tip with some extra length for the tips.
If you want extra long nails, you may need to use multiple straws. Any plastic drinking straw will do the trick. Just a heads up – if you’re using bendy straws, cut the sections from the straight part of the straw (not the bendy part).
2. Shape Your Straw Nails
Next, cut the straw sections into nail shapes using sharp scissors to open each section lengthwise. It should create curved pieces of plastic that you can fit onto your natural fingernails.
Trim the pieces to the right size and shape to fit perfectly over each nail.
You can also shape the tip of each straw nail in any way you prefer, such as making them pointy, blunt, or rounded.
3. Strengthen Your Fake Straw Nails
While you make fake nails, if you want them stronger, add a second layer of straw to each nail using double-sided tape. If they feel too flexible, no problem. You can strengthen them with the trimmed-off scraps of straw.
Just put a strip of double-sided tape on the underside of each nail, and then attach a second piece of straw that matches the nail’s length. If the second piece of straw sticks out from under the first one after taping it, simply trim it to fit using scissors or nail clippers.
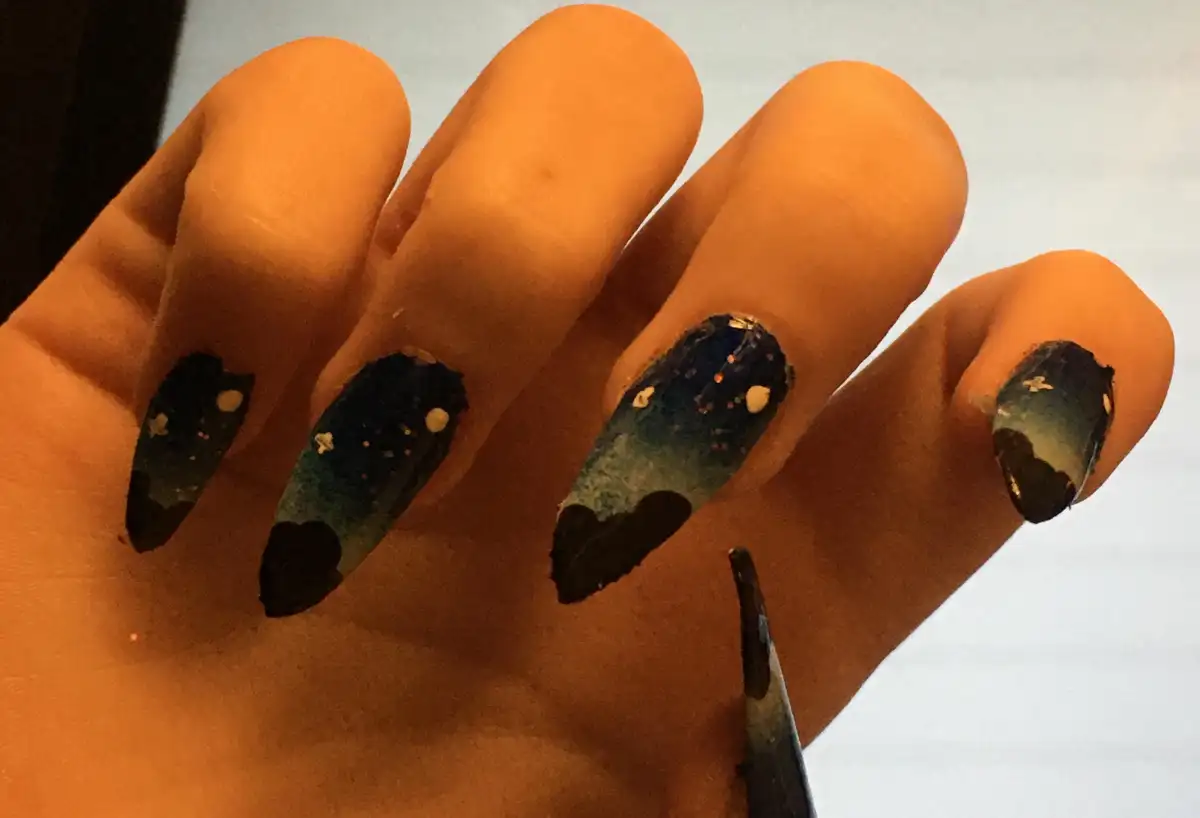
4. Decorate Your Straw Nails Before Attachment
Before attaching the nails, you can decorate them if you want. If the straws have patterns or colors you like, you might skip the nail polish, but you can still make them fancy.
Just flatten the nails on a piece of paper with double-sided tape, and use acrylic paint or nail polish with a fine-detail brush or nail art tool to add your designs.
If you decide to paint the nails, make sure they’re completely dry before putting them on your fingers to avoid smudging your art. You can also use craft glue to attach nail gems or apply some lovely decals to add extra charm.
5. Attach Your Homemade Straw Nails
You need double-sided tape to attach the fake straw nails. Before applying them, make sure to clean and gently buff your natural nails to help the adhesive stick better. Use adhesive nail tabs or skin-safe double-sided tape, like wig tape.
Attach one tab or piece of tape to each nail, peel off the backing to reveal the sticky surface, and then firmly press your new nails in place.
If you use tape or nail tabs to attach your straw nails, they should stay in place for about 5 days before they come off.
6. Post-Attachment Decoration and Maintenance of Straw Nails
Feel free to paint your nails in any way you like. If you haven’t decorated the straw nails yet, now is the perfect time to do it. Apply a few coats of your favorite nail polish, and your new nails will be ready to go!
Since these nails are made of plastic, you don’t have to worry about getting them wet. However, be cautious about soaking your hands in soapy water to prevent the adhesive nail tabs from coming off. If your straw nails are still in good condition after you remove them, feel free to use them again.
How to Make Fake Nails with Flour and Paper
1. Create the Base of Your DIY Paper Nails
Make fake nail shapes using 6-10 layers of paper. Any paper will work, like newspapers, magazines, construction paper, printer paper, or tissue. Thicker paper works best for stronger nails. Cut out a paper piece in the shape and size of each nail.
Then, use these cutouts as guides to snip out more layers of the same size and shape. Stack the layers together, place the guide on top, and cut around it to make duplicates.
Using more layers will make your nails stronger and thicker. If you find it challenging to keep the layers together after cutting, try taping them gently or using paper clips until you’re ready to use them.
2. Prepare the Adhesive Paste
Create a paste by mixing a spoonful of flour with some water in a small bowl. Add enough water to make a thick, glue-like paste. When it dries, this paste will make your nails strong and sturdy.
Another way is to mix the same amount of cornstarch and cold water in a small bowl until the mixture becomes smooth without any lumps.
- Make about 1/3 cup (79 mL) of this mix.
- Gradually stir the paste into 1 cup (240 mL) of boiling water.
- Then let it cool and thicken.
Before you start making and working with the paste, place a sheet of plastic on your workspace to protect it. Things might get messy, so plastic will keep everything clean and tidy.
3. Assemble Your Paper Nails
Use the paste to glue the layers of paper nails together. Take a small paintbrush and apply a thin layer of the flour or cornstarch mixture on each nail-shaped paper piece.
Press another paper piece of the same size on top of it. Repeat this process for each nail until all the layers are glued together. Then, move on to the next nail and do the same. After finishing each nail, coat both the front and back with the paste to seal them.
If you’ve ever made papier-mâché crafts before, this process might feel familiar because it is the same technique—only this time, you’re using it to create nails.
4. Dry and Shape Your Paper Nails
Allow the fake nails to dry overnight. Now that you’ve made them, it’s time to be patient. Place them in a dry area overnight so they can fully harden.
After a few hours of drying, use your fingers to gently curve the nails. Make them a bit arched in the middle to fit the shape of your natural nails.
5. Give the Fake Nails a Finishing Touch
When the nails are fully dry, trim and file them. Use scissors to shape them neatly, and then smooth out any rough edges with a nail file or buffer. If your fake nails feel powdery after shaping and buffing, simply use a makeup brush to dust them off and make them clean.
6. Apply Your DIY Paper Nails
Put the fake nails on using nail tabs. You can use adhesive nail tabs or safe double-sided tape (like wig tape) to stick them on.
Note: Before this, make sure your real nails are clean and dry so that the adhesive sticks properly.
You can make your nail stickers stick better by gently buffing your nails first. To get these nail stickers, you can buy them online or at a beauty supply store. Look for wig tape, double-sided tape, or nail tabs.
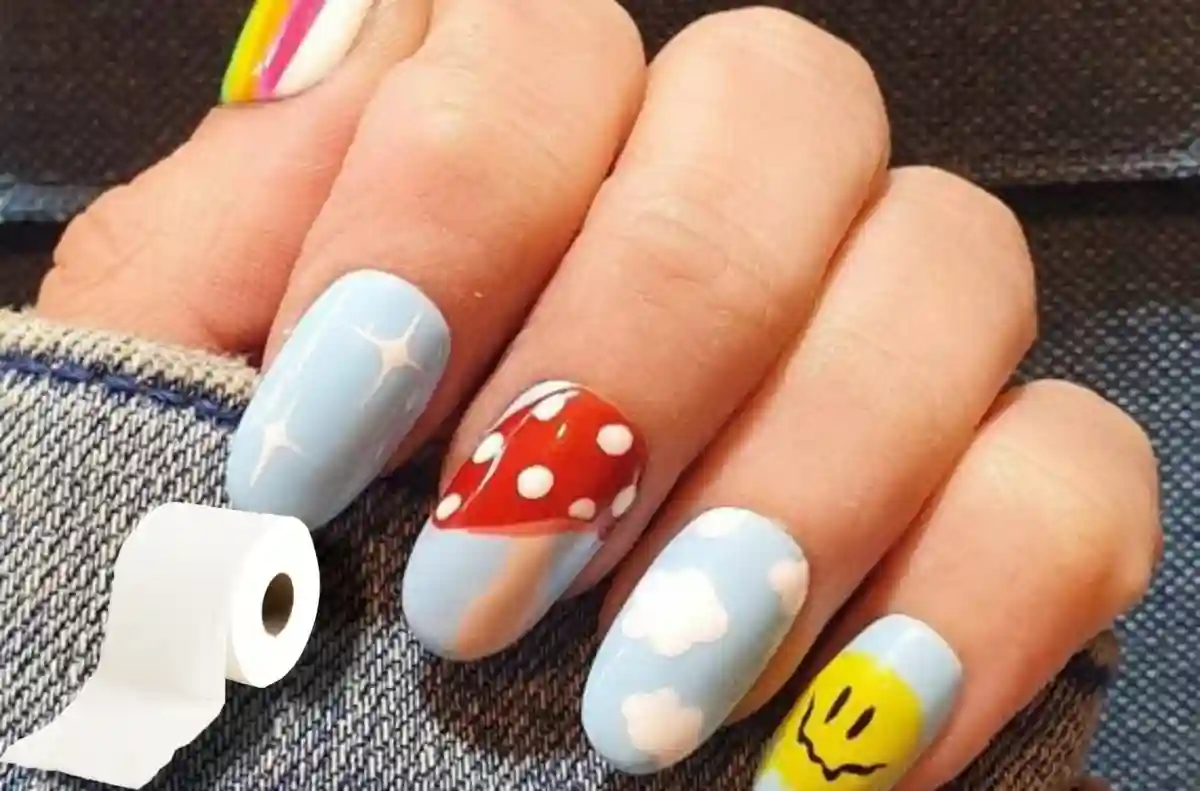
7. Decorate and Care for Your Fake Paper Nails
Paint your nails in any way you prefer. Apply a couple of clear basecoat layers and let them dry. Then, choose a polish color you like and paint your nails with it.
If you don’t want the paper nails to show through, pick an opaque polish that covers the pattern completely.
To make sure the paper layers are hidden and sealed properly, paint not only the top but also the edges of your nails. This will give them a neat and finished look. Let your creativity flow and have fun with fancy nail art. You can add gems, decals, or beautiful painted designs to give your nails a unique and stunning look.
These nails won’t stay as long as regular acrylics, gel nails, or plastic press-ons. However, they’re a great choice if you just want fancy nails for a day or two. Enjoy them while they last!
Using a few layers of nail polish can make your fake nails a bit more water-resistant, but they won’t be fully waterproof. So, if water gets in, it can still damage the nails since they are made of paper.
If you plan to shower with the fake nails you just made, wear gloves to protect them. Also, be cautious when cleaning your hands to avoid any unnecessary damage.
How to Make Fake Nails with Tissue and Craft Glue
1. Prepare the Tissue for Nail Extensions
Cut 10 strips of multi-ply tissue to the length you desire for your nail tips. You can use toilet tissue or craft tissue, the one you use in gift bags.
Make sure it’s multi-ply, with at least 4 layers of paper, as this will make your nails stronger. Cut the paper into strips with the length you want for the tips, leaving enough extra length to cover about a third of your natural nail.
If you have craft tissue or single-ply tissue, you can cut it into long strips and then fold each strip up in an accordion style to create multiple layers.
You don’t have to cut out a whole nail shape, just the tip shape will do. This method involves using paper to extend the tips of your nails, and then you can paint the rest of your fake nails with polish.
2. Apply Glue Between Tissue Layers
Apply a few drops of white glue between each layer of paper. You can use a white PVA glue that dries clear, such as Elmer’s Glue-All, Gorilla Wood Glue, or Fevicol.
Use a small paintbrush to coat each layer of tissue, and then press the layers together to make the nail tip stronger.
3. Shape the Tissue Nail Extensions
Gently roll the barrel of a pen or paintbrush over the nail tips to press the layers together and create a slight curve that fits the natural shape of your nail.
Hold the tissue in your hand and lightly roll the brush or pen barrel over it lengthwise, like a rolling pin, without wrapping the tissue tightly around it.
4. Dry the Crafted Nail Extensions
Let the tips dry by placing them somewhere warm and dry, so the glue can harden. Since the tips are small, this won’t take much time. PVA glue typically dries in about 30 minutes, but it can take up to 24 hours to completely cure and become hard and waterproof, depending on how much glue you used.
5. Prepare the Nail Glue Mixture
Mix the same amount of nail polish and white glue together. This mixture will be used to attach the tips to your nails and make them strong with a texture like real nails. Combine a few drops of the glue with an equal amount of clear nail polish or lacquer.
You can make a similar glue by mixing clear school glue and cornstarch until it becomes a thick paste. This mixture might dry a bit harder compared to using only glue and nail polish.
Note: drying speed depends on the temperature and humidity in your workspace. If it’s warm and dry, you might need to work quickly before the glue dries. However, typically, craft glue takes around half an hour to fully set, so you should have enough time to work on your project.
6. Apply the DIY Nail Glue to Your Nails
To apply the DIY fake nail glue, use a small paintbrush or nail brush. Paint the glue and nail polish mixture onto the tips of your nails.
You don’t need to cover the whole nail, just focus on the front 1/3 to 1/2 of each nail, starting from the middle to the tip. This part of your nail will be covered by the tissue tips. The remaining portion of your nail, from the middle to your cuticle, will be filled in with nail polish.
7. Attaching the Nail Extensions
Stick the nail tips onto your nails by pressing them gently. Take the tissue nail tips and place them carefully on each nail.
Be gentle because they might still be delicate, so avoid tearing or bending them. Before you attach the tips, ensure your natural nails are clean and dry. The glue will work better on clean and dry nails rather than on dirty, oily, or wet ones.
For an extra clean and dry surface, you can use a little rubbing alcohol on your nails.
8. Trim the Nail Extensions
After the glue has dried a bit, take a pair of scissors to trim the tips into your desired shape. You can cut them into any shape you prefer.
Remember, shorter and blunter shapes are less prone to breaking or tearing compared to long, narrow ones. So, consider opting for a shorter and blunter shape to make them more durable.
9. Seal the Nail Extensions with the Glue Mixture
Cover the tips with the glue and nail polish mixture. Take a small paintbrush or nail polish brush and apply a coat of the glue mixture onto every tissue nail tip. To fully seal the tips, make sure to brush both the top and the underside of each tip.
10. Apply Clear Nail Polish for Strength and Smoothness
Add a layer of clear nail polish on each nail. This will make the nails even stronger and smoother by covering the tissue surface. Apply the clear polish to both the tips and the exposed part of your natural nail. Don’t forget to paint the edges and the underside of the nail tips too.
For extra strength and waterproofing, you can apply 2-3 more layers of transparent polish or base coat. After you finish applying the clear polish, let it dry completely before adding any more polish on top of your nails.
11. Finish Up with Your Favorite Nail Polish
Use your favorite nail polish to paint over your nails. Choose an opaque polish that will cover up the tissue nail tip. Now, you can enjoy your new DIY nails!
Keep in mind that these nails may not be as durable as acrylic, plastic, or gel nails. If you’re careful, your tissue manicure might last a couple of days. Since the tissue nails are not very water-resistant, avoid soaking them in water. If you need to shower or take a bath, consider wearing gloves to protect your manicure.
What to Use Instead of Nail Glue
1. Nail guards
| Step | Procedure |
|---|---|
| 1 | Clean your nails with nail polish remover or rubbing alcohol to remove dirt, oils, and old nail polish. |
| 2 | Apply the nail guards on your nails to create a protective layer. |
| 3 | Put your glue, press-on nails, gel, or preferred product on top of the nail guards. |
| 4 | When you’re done using the guards, check the packaging for instructions on how to remove them. Some brands include special tools to help you peel off the guards easily. |
Note: Before using nail guards with press-on nails, check the label to make sure they are suitable for press-ons. Nail guards add extra hold without harming your nails. They act like stickers that go on your nails and create a protective layer.
2. Gel base coat
| Step | Procedure |
|---|---|
| 1 | Clean your nails by using a bit of nail polish remover to remove any old polish or products. |
| 2 | Lightly buff your nails with a nail file to make the surface slightly rough, which will help the gel adhere better. |
| 3 | Apply a clear gel base coat and press on your fake nails. |
| 4 | Place your hand under a UV lamp for around 30 seconds to let the gel set and hold the fake nails in place. |
Note: Nail gel, like nail glue, can be tough on your nails. Using a UV curing light too much can harm your skin and increase the chance of skin cancer. But in a pinch, it can be helpful to stick your nails on.
| Step | Procedure |
|---|---|
| 1 | To remove nail gels, soak them in acetone-based nail polish remover. |
| 2 | Acetone can dry out your skin and nails, so after removing the gels, apply some petroleum jelly or cuticle oil to moisturize your nails and cuticles. |
3. Wig tape
| Step | Procedure |
|---|---|
| 1 | Cut small pieces of wig tape in the right size for your nails. |
| 2 | Stick the cut pieces of wig tape onto your nails. |
| 3 | Press your fake nails onto the tape. |
| 4 | When you want to remove the fake nails, just peel them off along with the tape. |
Note: It’s an easy and convenient way to keep your fake nails in place without using nail glue. Wig tape is safe for your nails and skin since it’s double-sided.
| Step | Procedure |
|---|---|
| 1 | If you notice any sticky residue after removing the wig tape or adhesive nail tabs, use a cotton swab dipped in rubbing alcohol or nail polish remover. |
| 2 | Clean up the residue with the cotton swab. |
Note: While wig tape and adhesive nail tabs may not stay as long as regular nail glue, they work well for short-term wear, lasting a few days if you need a quick fix for your fake nails.
4. Nail tabs
| Step | Procedure |
|---|---|
| 1 | Start with clean nails. Use a bit of acetone or rubbing alcohol to remove any oils that could stop the tabs from sticking well. |
| 2 | Cut the nail tabs to fit your fingernails. |
| 3 | Stick the tab onto your natural nail. |
| 4 | Press the fake nail on top of the tab. |
| 5 | To remove the tabs, check the label for instructions. Depending on the type of adhesive used, you may be able to soak them off in soapy water or gently loosen them with some coconut or olive oil. |
Note: Nail tabs don’t stay as long as nail glue, but some brands say they can hold fake nails for up to 5 days if you take care of them properly. Remember to choose adhesive nail tabs, not nail guards, as they are sticky on one side only.
- How to Put on Fake Nails Without Glue. Clutch Nails
- How to Make Fake Nails Out of Nail Polish & Paper in 7 Simple Steps. Up Style Daily
- Fake Nails & Nail Art. CVS Pharmacy
Read also: How to Remove Fake Tan from Face Immediately


